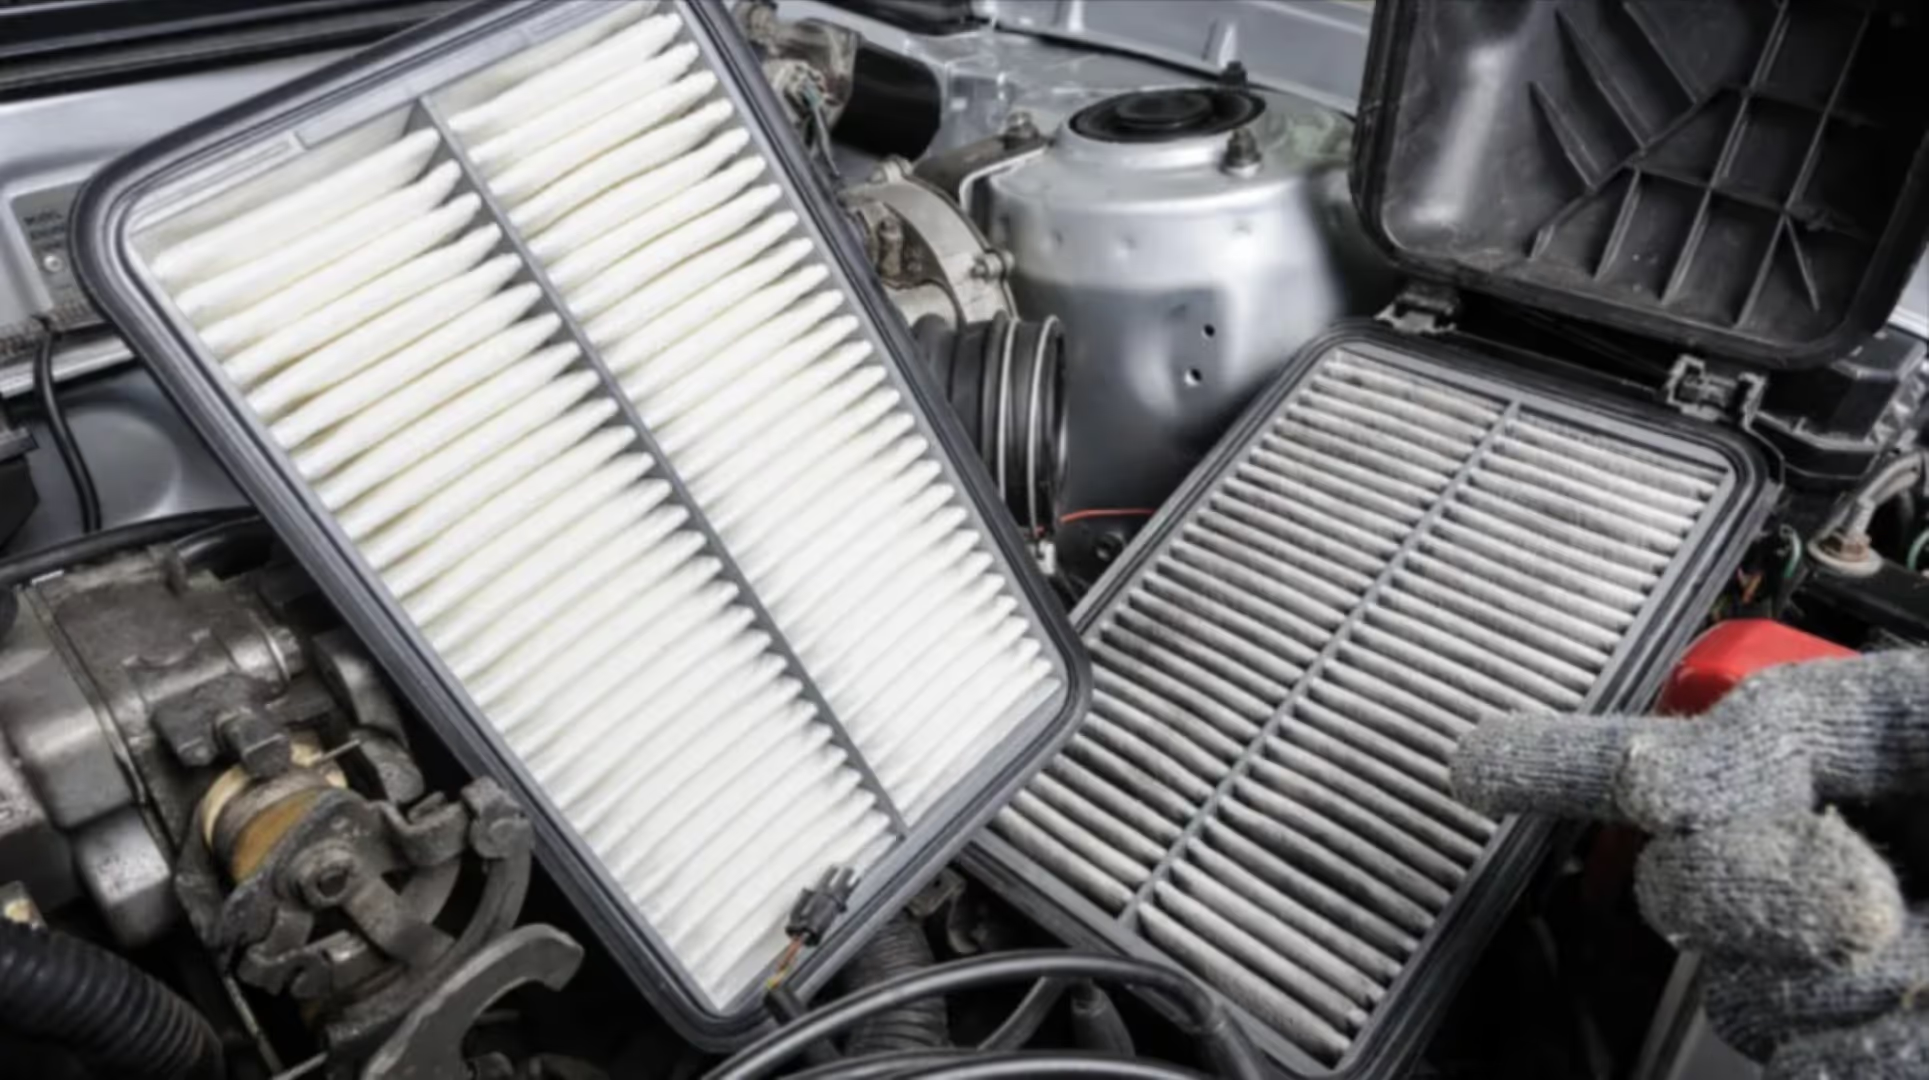
Air filters in your diesel engine trap dirty air and other pollutants from the air entering the internal combustion chamber.
With the nature of their work, these air filters will clog or block, reducing their ability to filter and allow enough air into the engine’s combustion chamber.
Ensure to include the air filters in your truck's maintenance checklist to inspect and clean or replace them while servicing your vehicle.
Do you want to learn how to clean your diesel engine air filters in your heavy-duty truck? This article discusses some practical steps to follow when cleaning your engine air filters to ensure they work well.
Let's jump right in
Impacts of a Dirty Engine Air Filter on Your 18-Wheeler
Here are some effects of a dirty engine air filter in your semi-trailer.
A dirty air filter reduces the air entering the internal combustion chamber, leading to an imbalance in the air-fuel ratio. This results in incomplete combustion and increases soot production, which is released as smoke and pollutes the environment.
With a dirty air filter, some pollutants may get into the combustion chamber. These pollutants will corrode and damage the sensitive parts of the engine system, jeopardizing the performance of your diesel engine.
Your truck will consume more fuel, as a dirty air filter will restrict airflow into the combustion chambers, leading to incomplete combustion. Some unburnt diesel will be released into the environment along with the exhaust wastes.
Similarly, your diesel engine will work hard to produce the same amount of power required for your truck to haul heavy loads when moving at a certain speed. This will wear out your engine and reduce its lifespan.
7 Easy DIY Steps to Follow When Cleaning Your Diesel Engine Air Filter
Different trucks utilize various types of air filters. If you use a dry air filter, you must replace it, as its material makes it impossible to wash.
On the other hand, if your big rig uses a wet air filter, you can wash them to keep them clean.
Once you notice that your semi-trailer's air filters are dirty, you can follow these steps to clean them and ensure they remain clean and up to their performance to keep your truck up to its functionality.
1. Locate and Detach the Air Filter From Your Truck
Your semi-truck has air filters in the cabin and the hood. First, use a screwdriver to loosen the bolts and open the compartment lid where the air filters are.
Disassemble the dirty air filters and carefully remove them from their housing to clean them. This process will take less than an hour to complete. However, heavy-duty trucks with extensive air filters may take longer than expected.
2. Remove Dirty or Debris From the Air Filters
Once you have detached your oiled air filters, tap them gently on a hard surface to remove debris stuck between the pleats.
Moreover, you can use a soft, brittle brush to sweep off the large debris and loosen the pleats of your air filter.
3. Soak the Filters
After tapping the filter on a hard surface, you will realize that not all the dirt has come from it. Some dirt and grit are still stuck on the wrinkles.
Inspect them using a light to see if they have holes. Otherwise, it is better to replace a damaged filter than clean it.
Apply or spray the inside and outside of your filters with a suitable cleanser and let them soak for about 10 minutes to soften the dirt. Do not let the cleanser dry on the filters.
Be sure to consult with the manufacturer of your air filters to know the best cleanser kit to use when cleaning them.
You can also soak the filters with gasoline, steam, cleaning solvents, or other strong detergents since they can soften and remove all the oil and dirt.
These products can destroy the filter media or even shrink the polyurethane end caps, reducing your truck filter's ability to trap dust and other tiny particles in the air entering the engine’s combustion chamber.
4. Rinse the Filters
After soaking the filters for 10 minutes, rinse them off to eliminate the oil and dirt. Use clean water from a low-pressure source and rinse them from the inside to allow all the dirt to drain out.
You can repeat the process around the filter until you see clean water flow. Closely check to ensure all the dirty and cleaning solutions are out to open the air spaces and ensure they work well.
5. Dry the Filters
Gently shake off the air filters to remove excess water, then put them in an open space in the sun and let them dry.
The filters should be left to dry naturally, as air dryers can ruin them.
The drying process can take more than a day. You can have a spare air filter to ensure your truck remains operational while the other filters are still wet.
6. Oil Your Filters
Wet air filters either use foam or oil to keep them damp and ensure they remain effective.
After the air filters are dry, it is time to oil them. Follow the manufacturer's recommendations and use a suitable oil to keep them wet.
To avoid over-oiling the filters, use a re-oiling calculator to determine the amount of oil each pleat should absorb. The amount of oil each pleat receives will depend on the filters' size and depth and height.
Ensure you apply the oil from the outside and not the inside of the filters.
After applying the oil, allow them to settle so it can absorb deep into the creases. This can take up to 4 hours or more.
7. Restore the Filters Back to the Compartment
After the oil has been perfectly absorbed, it is time to re-install the air filters back into their compartment. Tighten all the clamps to keep the filters intact and ensure they perform their functions effectively.
In case the brackets of the filter house are dislocated from their location when removing the filter, ensure to place them back in their rightful place and clamp them with screws to tighten them.
How to Replace the Air Filters in Your Heavy-Duty Truck in 4 Easy Steps
Cleaning the wet filters or vacuuming the dry ones may wear out the pleats over time. To improve their performance, you may be required to replace them.
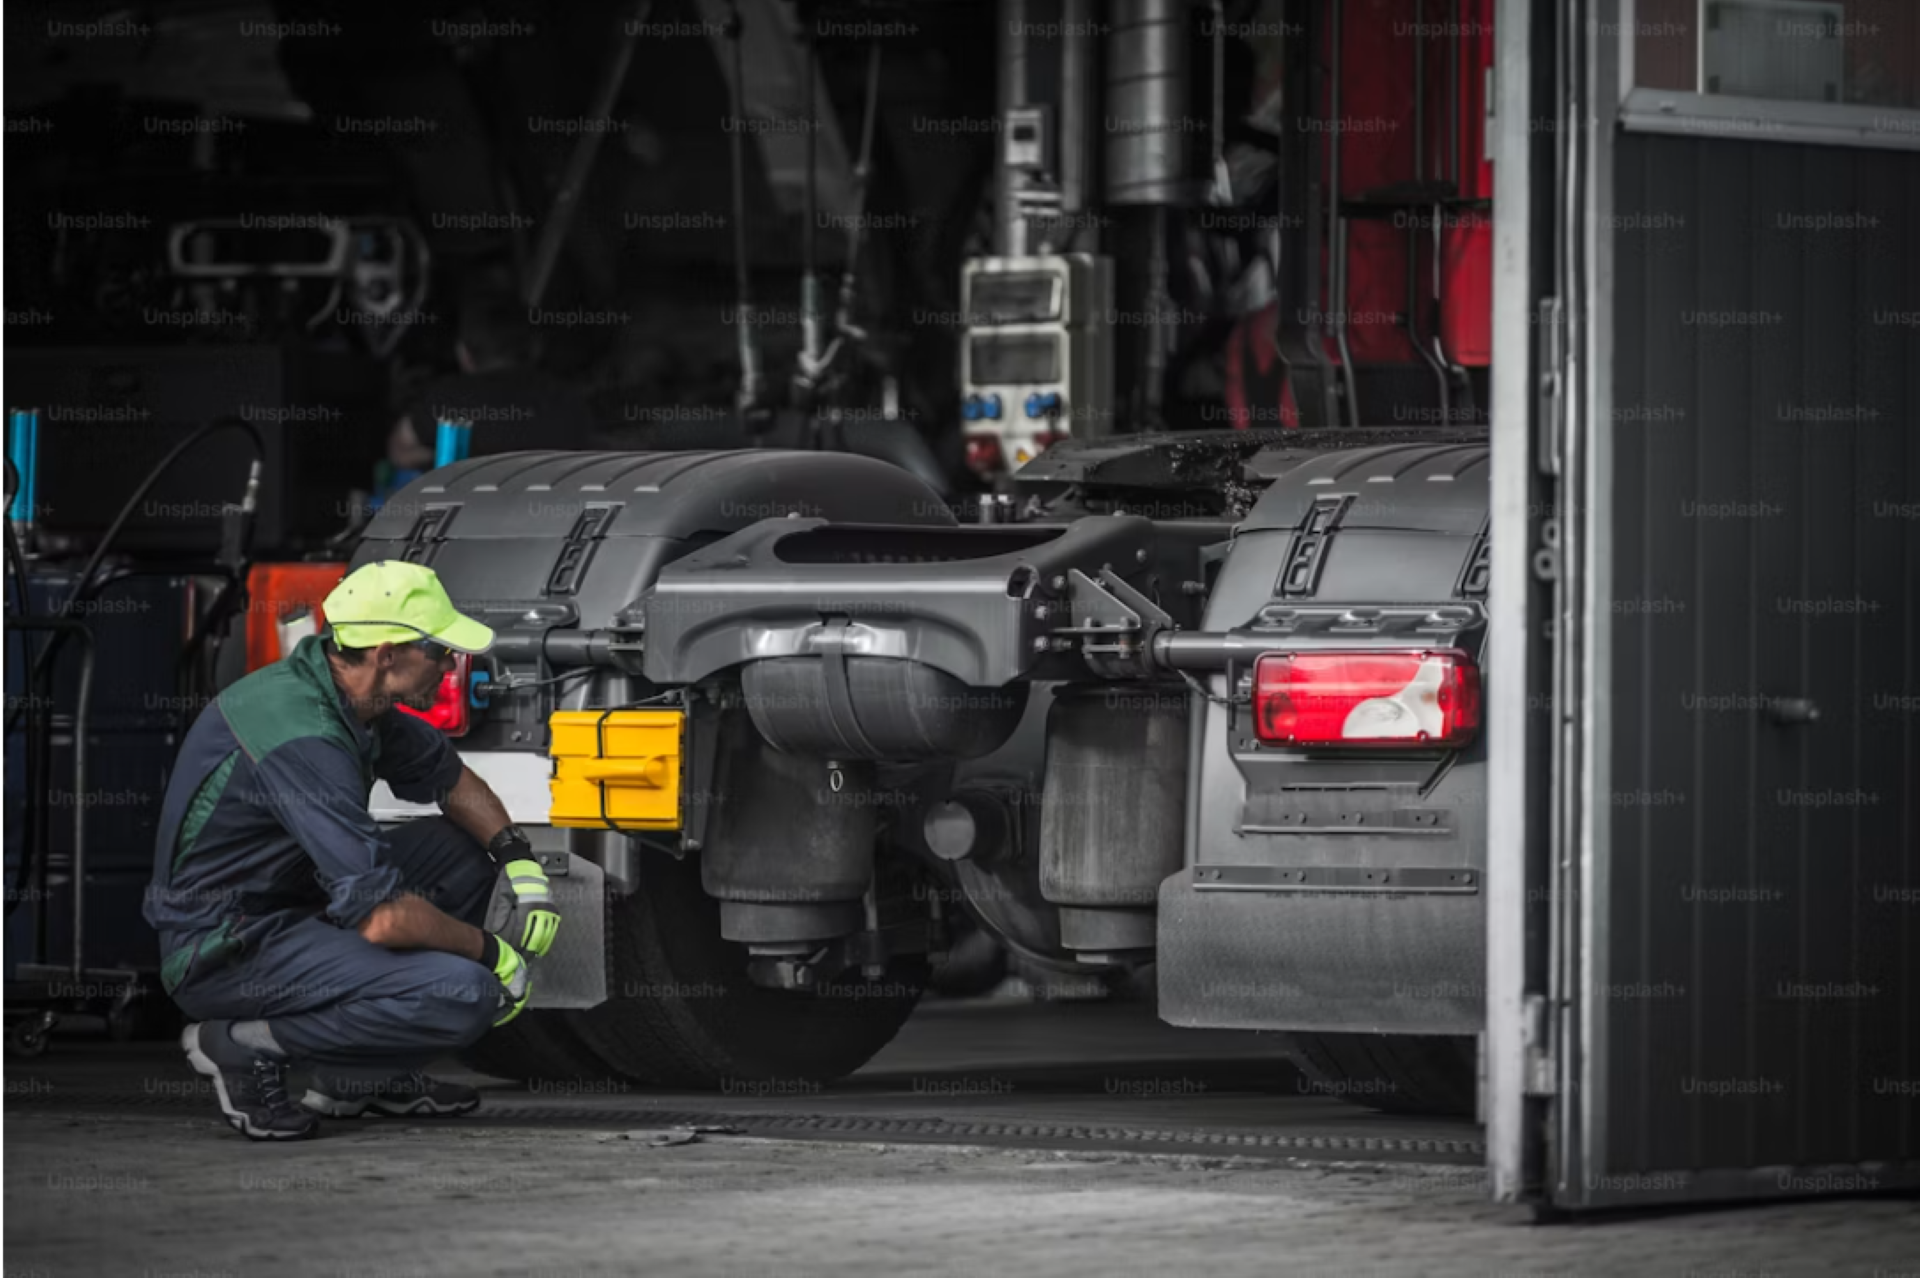
Note that replacing an air filter is not a hard thing. You can do it yourself or seek help from an experienced mechanic near you.
Here are some practical steps to follow when replacing your engine air filters.
1. Open the Filter Housing
Use a screwdriver to loosen the screws tightening the filter lid in the cabin or under the hood of your truck. It depends on the location of the filters you want to replace.
Keep the screws in a secure place since you will need them to tighten the lid after replacing the filters.
2. Remove the Dirty Filters
After opening the lid, remove the dirty filters from the compartment.
3. Clean the Filter House.
Use a vacuum cleaner, compressed air, or a brittle brush with a long handle to clean all the dirt and other debris inside the air filter compartment. This will ensure the filter area is clean before installing a new or clean air filter.
4. Install the New Filters
Install the new filters back to the filter housing. Ensure they fit well before closing the lid to ensure they work well.
Finally, re-install the filter lid carefully and fit back all the clamps to fasten the lid.
Counter-check to ensure all the parts in the filter units fit well and are in their correct location.
Conclusion
Always keep your air filters tidy to facilitate sufficient and clean airflow into the internal combustion chamber of your truck’s engine. Clean air will help your engine generate enough power to run your vehicle and protect it from damage. Ensure to clean or replace your filters when you notice signs of them being dirty. If you find cleaning or replacing your air filters hard, contact your mobile truck mechanic or visit a nearby truck repair shop to fix the issue.

.avif)